Sometimes, upgrading to the latest iOS version may not be the best decision for your device, especially if you encounter compatibility issues or experience a decline in performance. Fortunately, Apple allows users to downgrade their iOS to a previous version, but the process isn’t as straightforward as upgrading. This guide will walk you through the steps to safely downgrade your iOS, ensuring that your device functions smoothly.
Prerequisites:
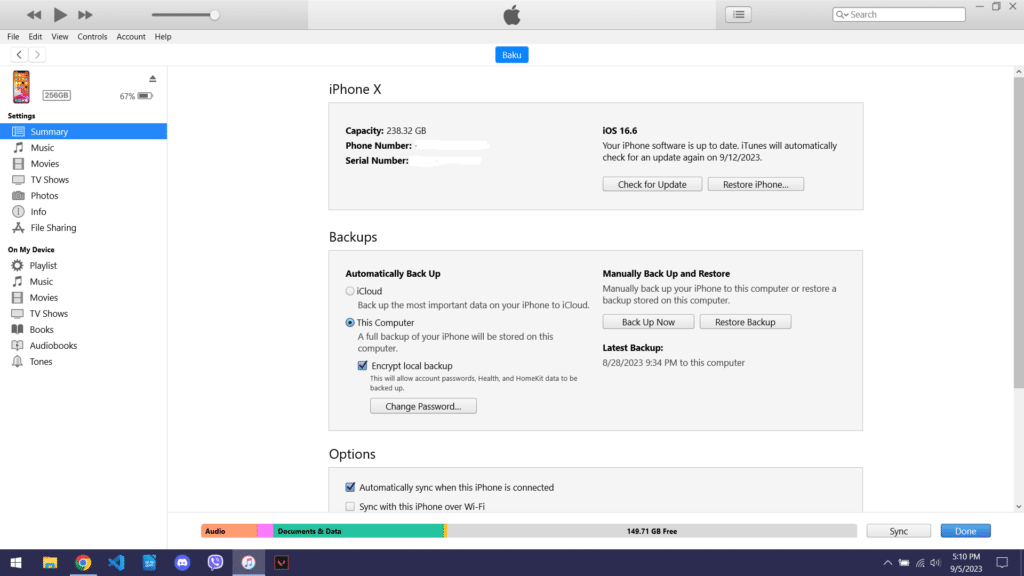
- A Computer: You’ll need a Mac or PC with the latest version of iTunes installed. You can download it from Apple’s official website or you can find it on Microsoft Store as well.
- A USB Cable: To connect your device to your computer.
- A Backup: Ensure that you have a recent backup of your device. Use iCloud or iTunes/Finder to create one.
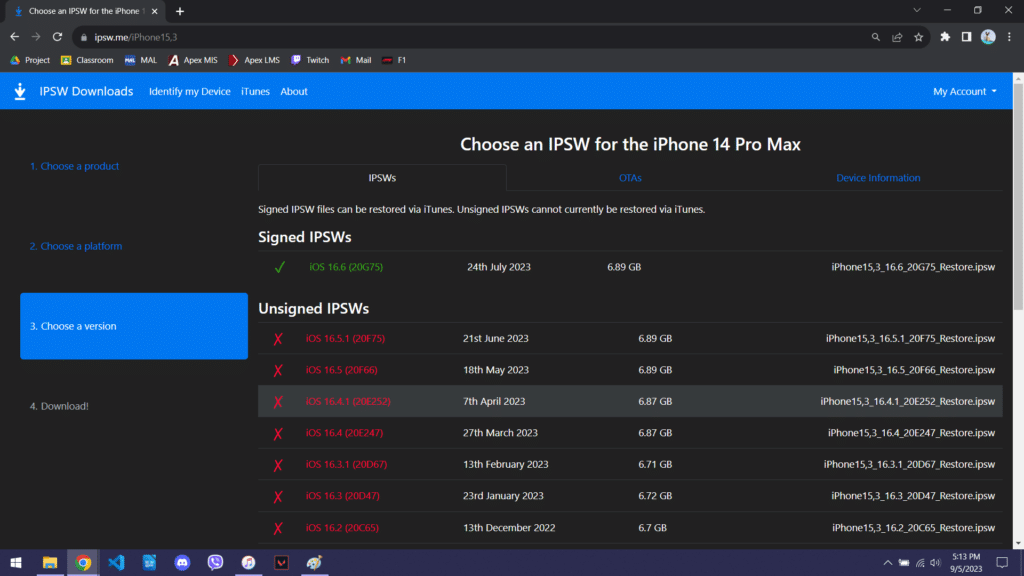
- IPSW Firmware File: Download the IPSW file for the iOS version you want to downgrade to. Make sure it’s compatible with your device. You can find these files on websites like IPSW.me or from trusted sources. Choose your device and download the firmware from IPSW‘s site.
Step 1: Put Your Device into Recovery Mode
- Connect your device to your computer using a USB cable.
- Launch iTunes
- Put your device into recovery mode:
- For iPhone 8 or later: Quickly press and release the Volume Up button, quickly press and release the Volume Down button, then press and hold the Side button until you see the recovery mode screen.
- For iPhone 7 and 7 Plus: Press and hold the Volume Down and Sleep/Wake (Power) buttons simultaneously until you see the recovery mode screen.
- For older iPhone models with a Home button: Press and hold the Home and Sleep/Wake (Power) buttons simultaneously until you see the recovery mode screen.

Step 2: Locate and Select the IPSW File
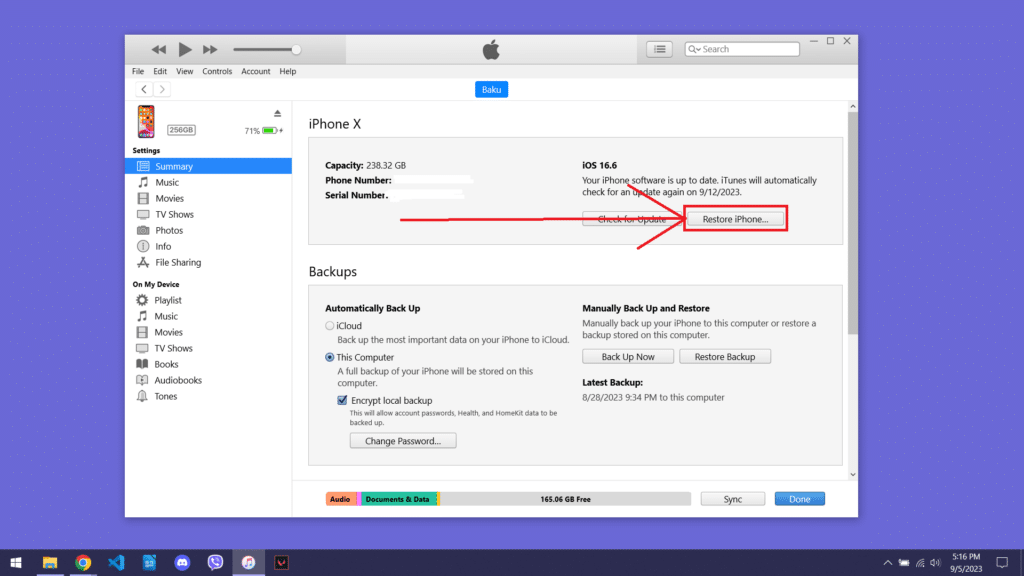
- In iTunes or Finder, you should see a message indicating that your device is in recovery mode and needs to be restored. Click “Restore” or “Update,” depending on your version of iTunes/Finder.
- A dialog box will appear, asking you to locate the IPSW firmware file you downloaded earlier. Browse your computer and select the file.

Step 3: Begin the Downgrade
- After selecting the IPSW file, iTunes or Finder will verify it with Apple and initiate the downgrade process. This may take some time.
- Your device will restart several times during the process. Do not unplug it until the process is complete.
Step 4: Restore from Backup
- Once the downgrade process is finished, your device will restart, and you’ll see the “Hello” screen.
- Follow the on-screen instructions to set up your device. When prompted, select “Restore from iTunes/Finder backup” and choose the most recent backup you created before the downgrade.

Step 5: Verify and Test
- Once the restoration is complete, your device should be running the downgraded iOS version.
- Verify that all your apps and data are intact and that your device is working as expected.
Why downgrade your iOS device?
The main reason to download your device is due to the compatibility and performance issues that you start to notice after using it for a while. In addition to that you may also not like the new updated iOS and prefer the older version than the new one.
